In this document
Introduction
The easiest way of starting a new project using ABP with ASP.NET Core and Angular is to create a template on the download page. After creating and downloading your project, follow the below steps to run your application.
ASP.NET Core Application
- Open your solution in Visual Studio 2017 v15.3.5+ and build the solution.
- Select the 'Web.Host' project as the startup project.
- Check the connection string in the appsettings.json file of the Web.Host project, change it if you need to.
- Open the Package Manager Console and run an Update-Database command to create your database (ensure that the Default project is selected as .EntityFrameworkCore in the Package Manager Console window).
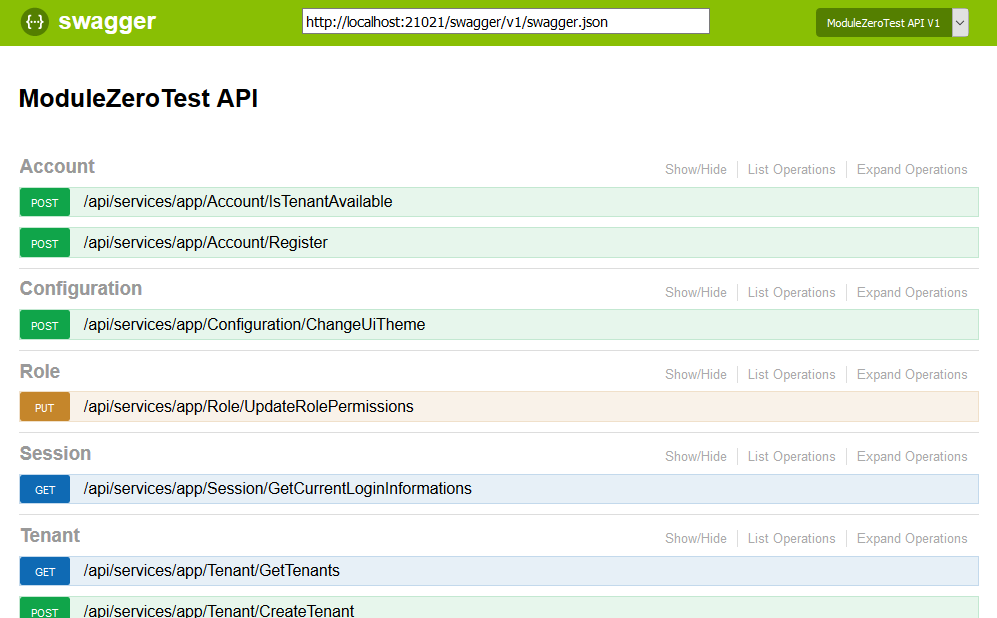
- Run the application. It will show swagger-ui if it is successful:
In this template, multi-tenancy is enabled by default. If you don't need it, you can disable it in the Core project's module class.
If you have problems with running the application, close and then re-open Visual Studio again. It sometimes fails on the first package restore.
Angular Application
Requirements
The Angular application needs the following tools installed:
- nodejs 6.9+ with npm 3.10+
- Typescript 2.0+
We used the angular-cli to develop the Angular application.
Restore Packages
Open a command prompt, navigate to the angular folder which contains the *.sln file and run the following command to restore the npm packages:
npm install
Note that the npm install may show some warning messages. This is not related to our solution and generally it's not a problem. The solution can also configured to work with yarn and we recommend you use it if it is available on your computer.
Run The Application
In your opened command prompt, run the following command:
npm start
Once the application has compiled, you can go to http://localhost:4200 in your browser. Be sure that the Web.Host application is running at the same time. When you open the application, you will see the login page:

The Angular client app also has HMR (Hot Module Replacement) enabled. You can use the following command (instead of npm start) to enable HMR at development time:
npm run hmr
Login
You can now login to the application using the default credentials. The default username is 'admin' and the password is '123qwe'. If you want to login as a tenant, you need to first switch to that tenant on the login page. By default, there is a tenant named "Default". Once you login successfully, you will see a dashboard:
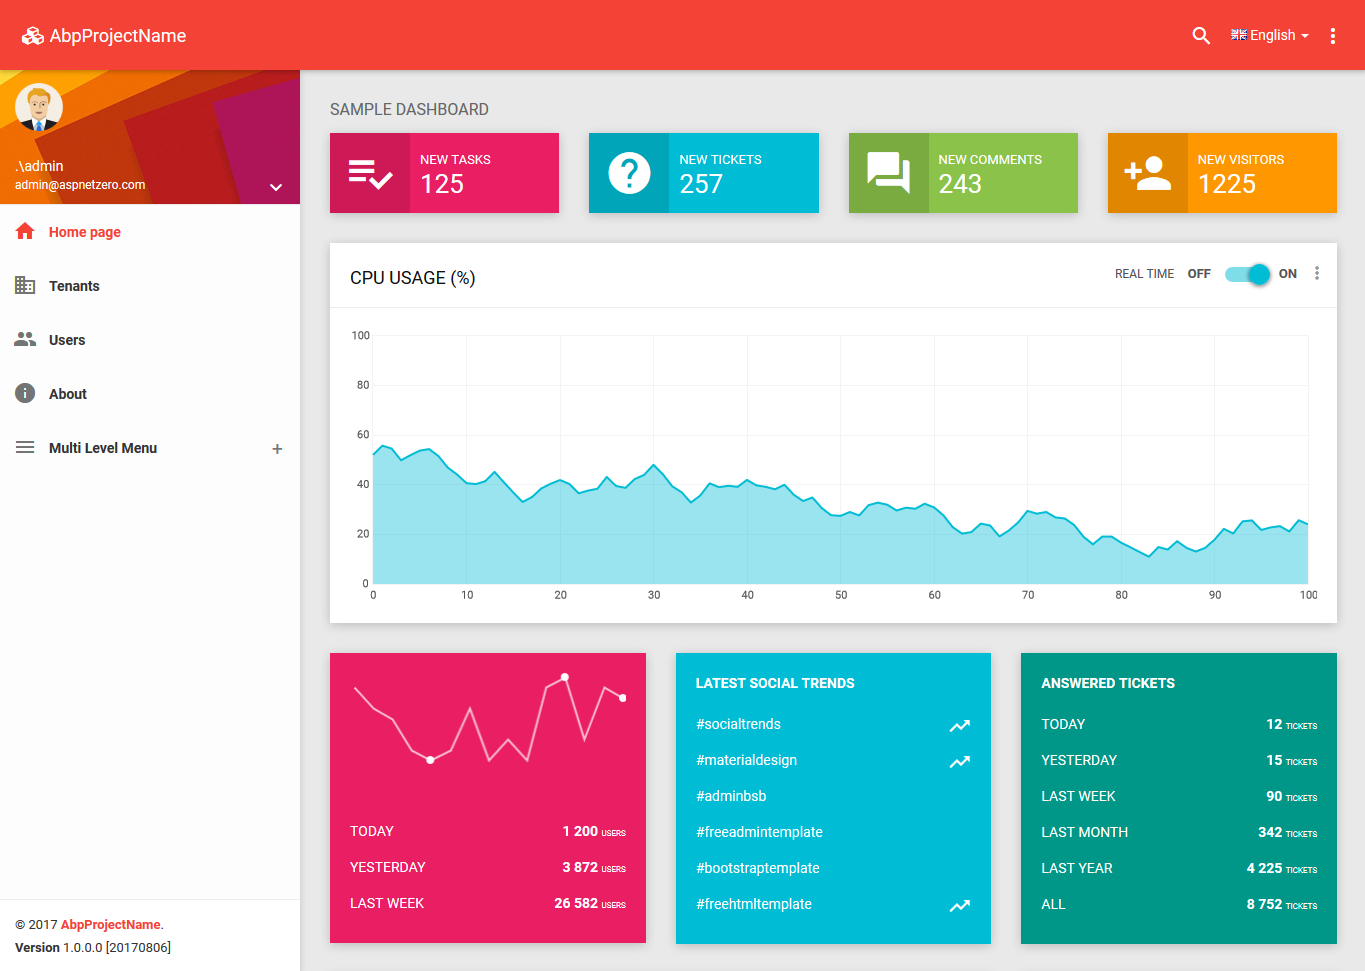
This dashboard is just for demonstration purposes and is meant to be a base for your actual dashboard.
Deployment of Angular Application
We used the angular-cli tooling to build an Angular solution. You can use the
ng build --prod command to publish your project. It publishes to the dist
folder by default. You can then host this folder on IIS or any web
server you like.
Merged Project
If you have merged Angular UI project into ASP.NET Core project then you only need to publish your .Host project. After publish .Host project, you should copy files that are in .Host/wwwroot/dist folder to publish_folder/wwwroot. For example: Move files in .Host/wwwroot/dist to C:\inetpub\wwwroot\my-website\wwwroot
Solution Details & Other Features
Token-Based Authentication
If you want to consume APIs/application services from a mobile application, you can use the token based authentication mechanism just like we do for the Angular client. The startup template includes the JwtBearer token authentication infrastructure.
We will use Postman (a chrome extension) to demonstrate requests and responses.
Authentication
Just send a POST request to http://localhost:21021/api/TokenAuth/Authenticate with the Content-Type="application/json" header as shown below:

We sent the values usernameOrEmailAddress and password. As seen above, the result property of the returning JSON will contain the token and expiration time (this is 24 hours by default and can be configured). We can save it and use it for the next requests.
About Multi-Tenancy
The API will work as host users by default. You can send the Abp.TenantId header value to work with a specified tenant. It's an integer value and by default is 1 for the default tenant.
Using The API
After we authenticate and get the token, we can use it to call any authorized action. All application services can be used remotely. For example, we can use the User service to get a list of users:

We made a GET request to http://localhost:21021/api/services/app/user/getAll with Content-Type="application/json" and **Authorization="Bearer *your-***auth-token ". All the functionality available on the UI is also available as the API.
Migrator Console Application
The startup template includes a tool, Migrator.exe, to easily migrate your databases. You can run this application to create/migrate the host and tenant databases.

This application gets the host connection string from its own appsettings.json file. In the beginning, it will be the same as the appsettings.json in the .Web.Host project. Be sure that the connection string in the config file is the database you want. After getting the host connection string, it first creates the host database and then applies the migrations if they don't already exist. It then gets the connection strings of the tenant databases and runs the migrations for those databases. It skips a tenant if it does not have a dedicated database or if the database has already been migrated by another tenant (for databases shared between multiple tenants).
You can use this tool on the development or production environment to migrate the databases on deployment instead of using EntityFramework's own tooling (which requires some configuration and can work only for a single database/tenant in one run).
Unit Testing
The startup template includes the test infrastructure setup and a few tests under the .Test project. You can check them and write similar tests easily. Actually, they are integration tests rather than unit tests since they test your code with all of ASP.NET Boilerplate's infrastructure (including validation, authorization, unit of work...).
Running on Docker
The startup template includes necesary files for building docker images and running those images in docker.
Building Docker images
In order to build docker image, open the command prompt, go to aspnet-core/build folder and run build-with-ng.ps1 script. This script will build abp/host and abp/ng docker images.
The default abp/host image is designed to use your local SQL Server, so don't foget to set ConnectionStrings__Default in aspnet-core/docker/ng/docker-compose.yml before building the docker image. In order to connect your local SQL Server, you need to use your local IP address in the connection string.
A sample connection string is ConnectionStrings__Default: "Server=192.168.1.42; Database=AbpProjectNameDb; User=sa; Password=123qwe;TrustServerCertificate=True;"
Running the project
After creating the docker image, you can go to aspnet-core/docker/ng folder and run up.ps1 script to run the docker image.
Source Code
This template is developed as an open source project and is available for free on GitHub: https://github.com/aspnetboilerplate/module-zero-core-template